Macbook Windows

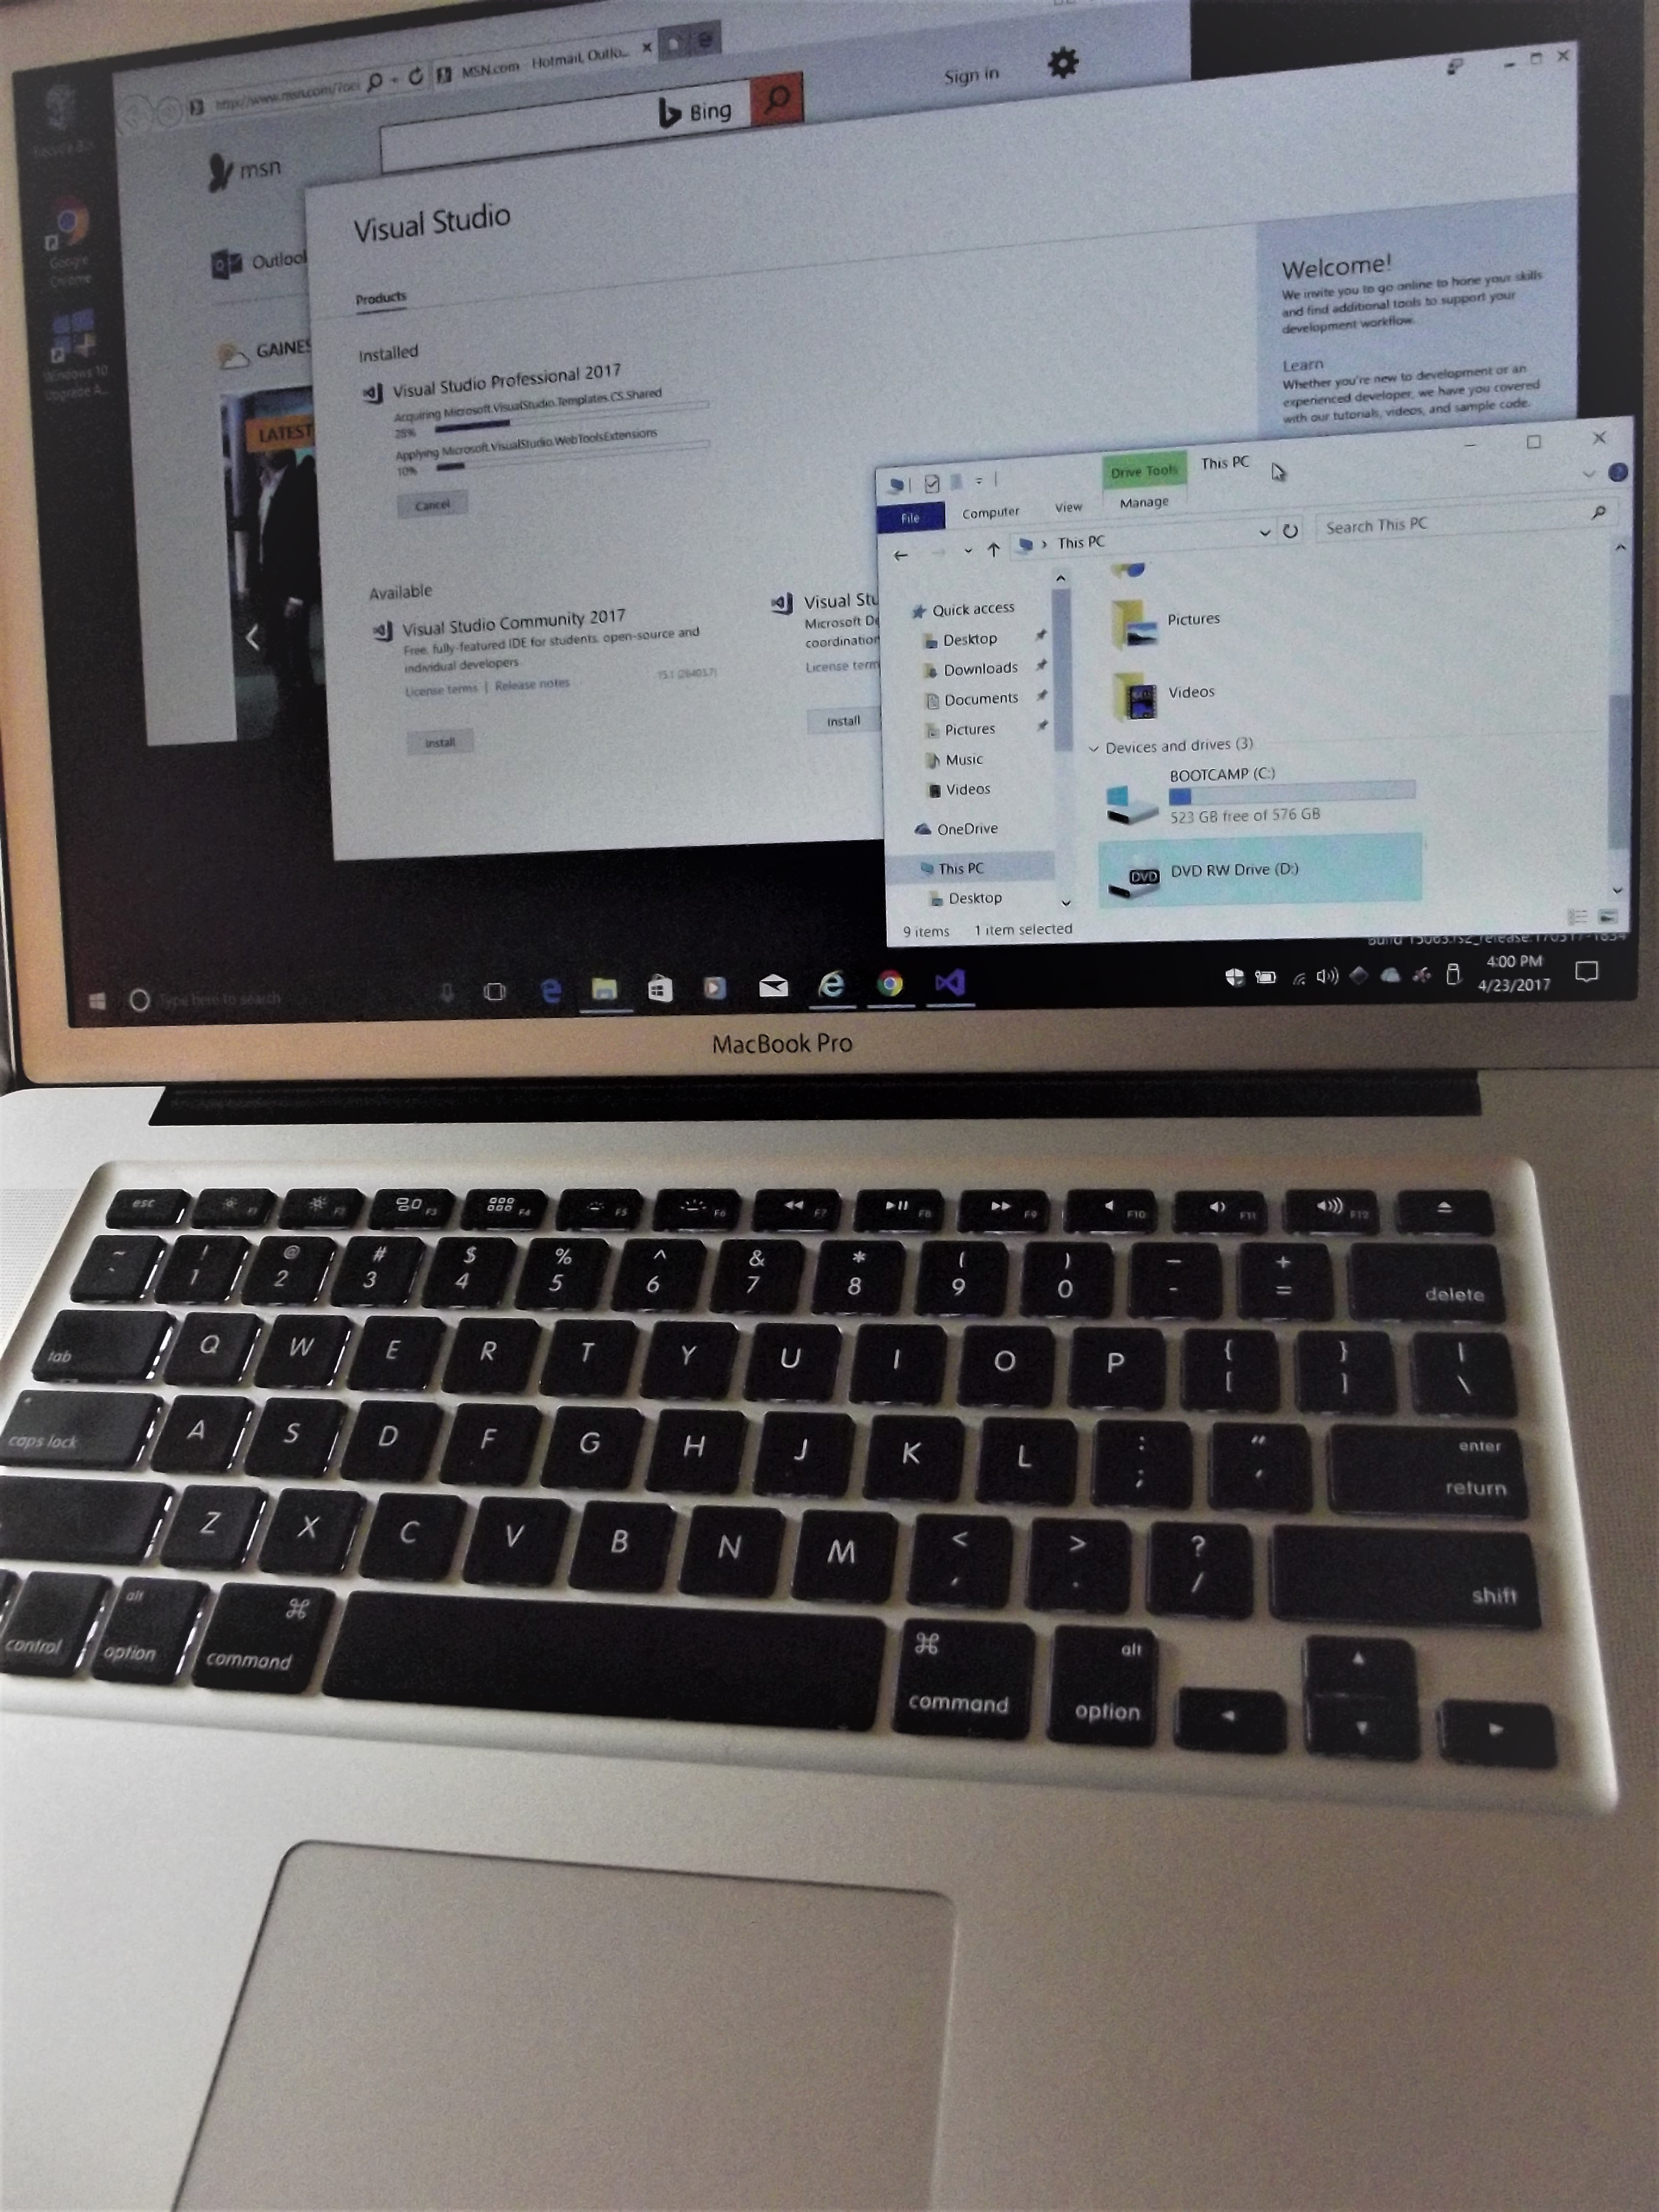
Due to a factory recall of sorts, Apple replaced my motherboard in my 2011 MacBook Pro. After already purchasing a newer one when it originally failed, I needed to decide what to do with my newly refurbished laptop. Having already upgraded it to 16gb of RAM years ago, it was far too capable to just forget about it. While I prefer MacOS for almost everything, there is some software development (aka coding or programming) that is best done on Windows. For years, I’d been running WIndows as an app under Paralleles [a VMWare-like package for MacOS]. However, what better useful experiment than to put Windows 10 right on the metal of my [mostly] trusty old Macbook Pro with an i7. I did a fair bit of research and came up with a montage of instructions from what I’d discovered on the web. First, Apple doesn’t support Windows 10 on a 2011 MacBook Pro. Max is Windows 7. But hey, they don’t support 16gb of RAM on the 2011 MBP either, so what do they really know after all? My montage of installing Windows 10 on a 15" MacBook Pro is far easier than I could find anywhere on the web, so I thought that I’d blog about it here, in case anyone else has an old Mac collecting dust. 1) The key is that the MacBook supports WIndows 7 [64-bit]. So find an old dusty Windows 7 DVD and a usable license key [you must be able to activate Windows 7 for this procedure to work]. 2) Boot any version of MacOS and partition a 1tb drive [about $50 on Amazon]. I like the new Seagate FireCuda. MacOS is fine with about 350gb or less. Give Windows the rest. Leave it as free space or format it as FatEX. Don’t follow the Apple advice of single partition for both MacOS and Windows (lots of counter advice about this on the web. BootCamp is mostly unnecessary; only the drivers are required and that is discussed in step #4). 3) Boot or restart your mac: with the Windows 7 DVD inserted. Right after or slightly before the first chime, press and hold the “Option” [aka alt] key. You will be prompted, this way, for which media to boot from. Choose the Windows 7 DVD. Do a regular Windows 7 install, and format your free space to NTFS. Note that each time Windows restarts your hardware, you’ll need to use the “Option” key to get back into Windows (and each of these reboots, select the hard disk partition where you have just installed Windows to; do not boot back into the Windows DVD after Windows initializes a reboot; The DVD can remain in the slot until Windows finishes. Your Mac eject button on the keyboard won’t work yet). 4) On another machine, or on the MacOS side of your mac: Download the appropriate BootCamp drivers (You can’t do this on Windows 7 yet, because you won’t have a working network driver; also, the trackpad will only partially work, so an old wired usb mouse could save you some frustration). Apple identifies precisely which BootCamp drivers your device needs. But their specifications are a little confusing. Fortunately, if you grab the wrong ones, they won’t install and the BootCamp driver installation will notify you these are not the right drivers for your hardware. Once you download the corresponding BootCamp drivers for your Apple hardware, put them on a USB stick (all zipped-up is okay). 5) Insert the USB stick into your Mac while it is running Windows 7. Run the installer (filename=setup); it’s not in the top-level folder of the zip, but it’s only one level deep, so it’s easy enough to find. Run it. On your half-working trackpad, you might have to select it with the mouse pointer and then press {Enter}. Next, follow the instructions and let it reboot. 6) This time, boot back into MacOS. Spotlight Search on the mac for “Startup Disk”. Choose “BOOTCAMP” for your startup disk (The BootCamp driver installation has a side-effect of renaming your WIndows partition to BOOTCAMP). Performing this step will make it unnecessary to use the “Option” key to boot into Windows. However, the next time you need to boot into MacOS, remember the “Option” key trick, as that will later allow you to return to MacOS. 7) Restart your mac, and you will be automatically booted into WIndows. All of your devices will now work. If you like Windows 7, you can keep it (and you’re done). Otherwise, do a Google or Bing search for Windows 10 Assistive. Windows 10 is still a free upgrade if you use Assistive technologies, and it’s also free if you’re willing to say that you use assistive technologies. Once you find the upgrade site for Windows 10, download it, install it, and follow the instructions. This last step is the easiest part. Just make sure that the site that you find starts with “www.microsoft.com/” (or just click on the “free upgrade” site above).